
Gatsby.js Tutorial Part One
Hello fellow Gatsby-er! Welcome to part one of our community Gatsby.js tutorial.
In this tutorial you’ll be gently introduced to the Gatsby development environment, how to create component pages, and how to build and deploy Gatsby sites.
Sit down, buckle up, and let’s get going!
Check your development environment
Let’s check first that you have everything set up to start creating with Gatsby. You will need a recent version of Node.js installed.
Node.js is a programming tool for running JavaScript on servers and in your computer’s terminal. Gatsby is built using Node.js.
Open a terminal window. See
these instructions
for Mac users and
these other instructions
for Windows users. In your terminal window, type node --version then npm --version.
You should see something like:
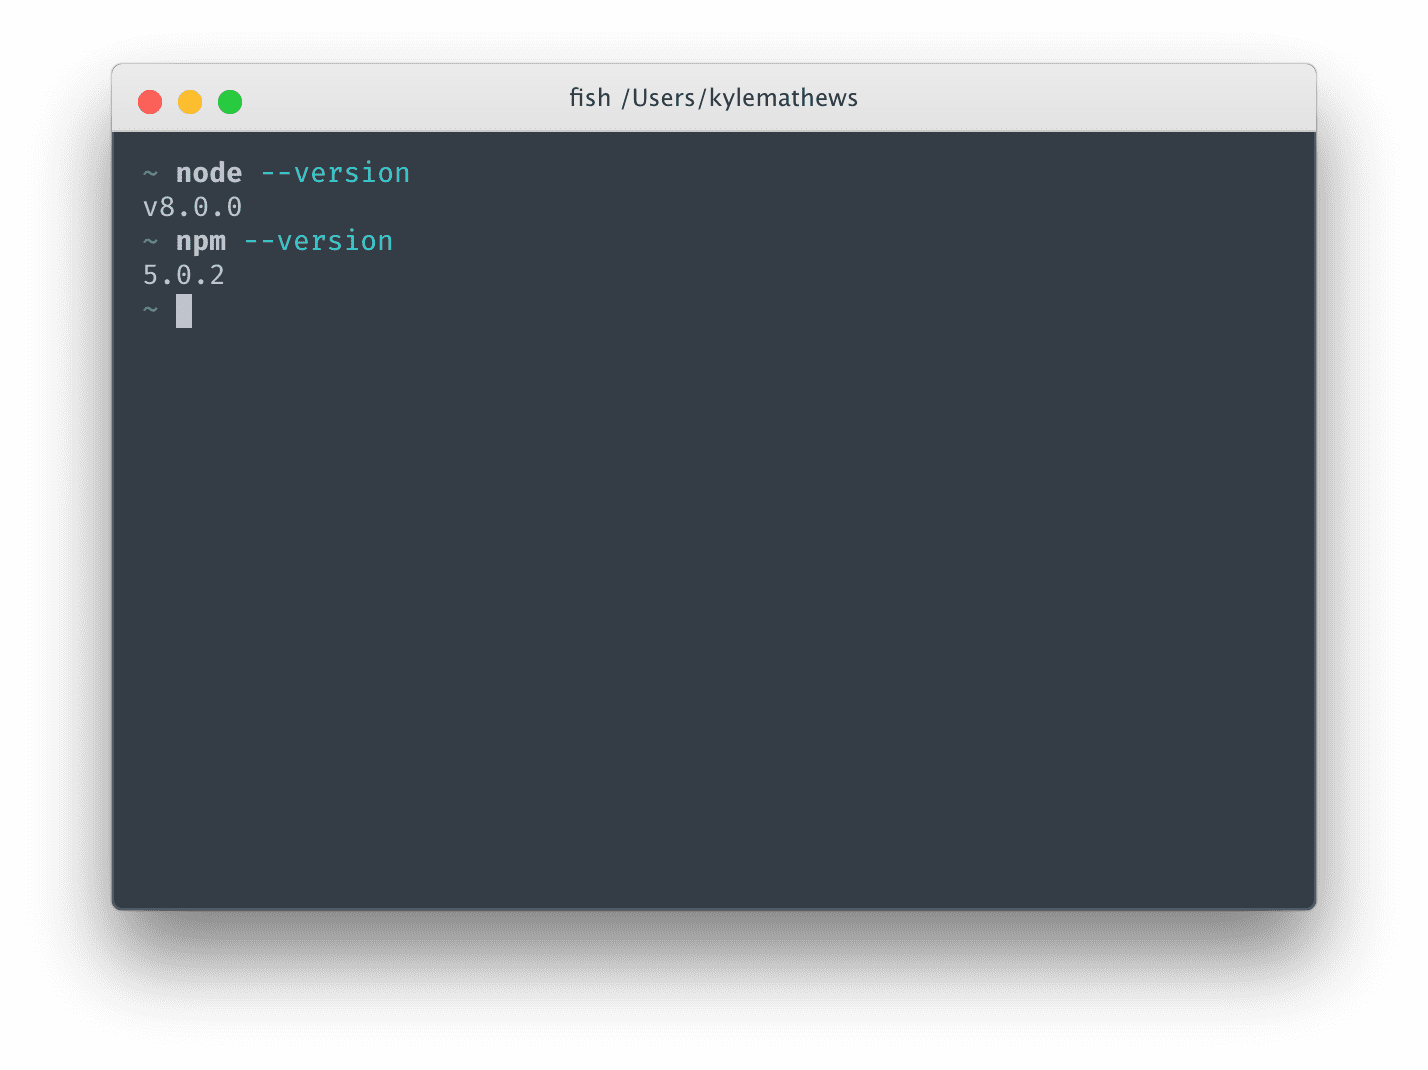
Gatsby supports versions of Node back to v4 and npm to v3.
If you don’t have Node.js installed, go to https://nodejs.org/ and install the recommended version for your operating system.
Install the “Hello World” starter
Gatsby uses “starters” for starting new projects. Starters are partially built Gatsby sites pre-configured to help you get moving faster. There are several official starters and many others contributed from the Gatsby community! See the Starters page for the full list.
To install a starter, first install Gatsby’s terminal program by typing the following command into the a terminal window and hit ENTER.
npm install --global gatsby-cliOnce that’s installed, type the following command in and hit ENTER:
gatsby new tutorial-part-one https://github.com/gatsbyjs/gatsby-starter-hello-worldThis command downloads the files for the starter and then installs the needed npm packages. It should take around 1.5-3 minutes to finish. It may look like nothing is happening at first; be patient!
Now let’s try running Gatsby!
Gatsby has a built-in development server. Let’s start it up by typing in the following commands into the same terminal window you’ve used so far in this tutorial.
cd tutorial-part-one
gatsby develop
You should shortly see some text that says The development server is listening at: http://localhost:8000. Open that address in your
browser and…
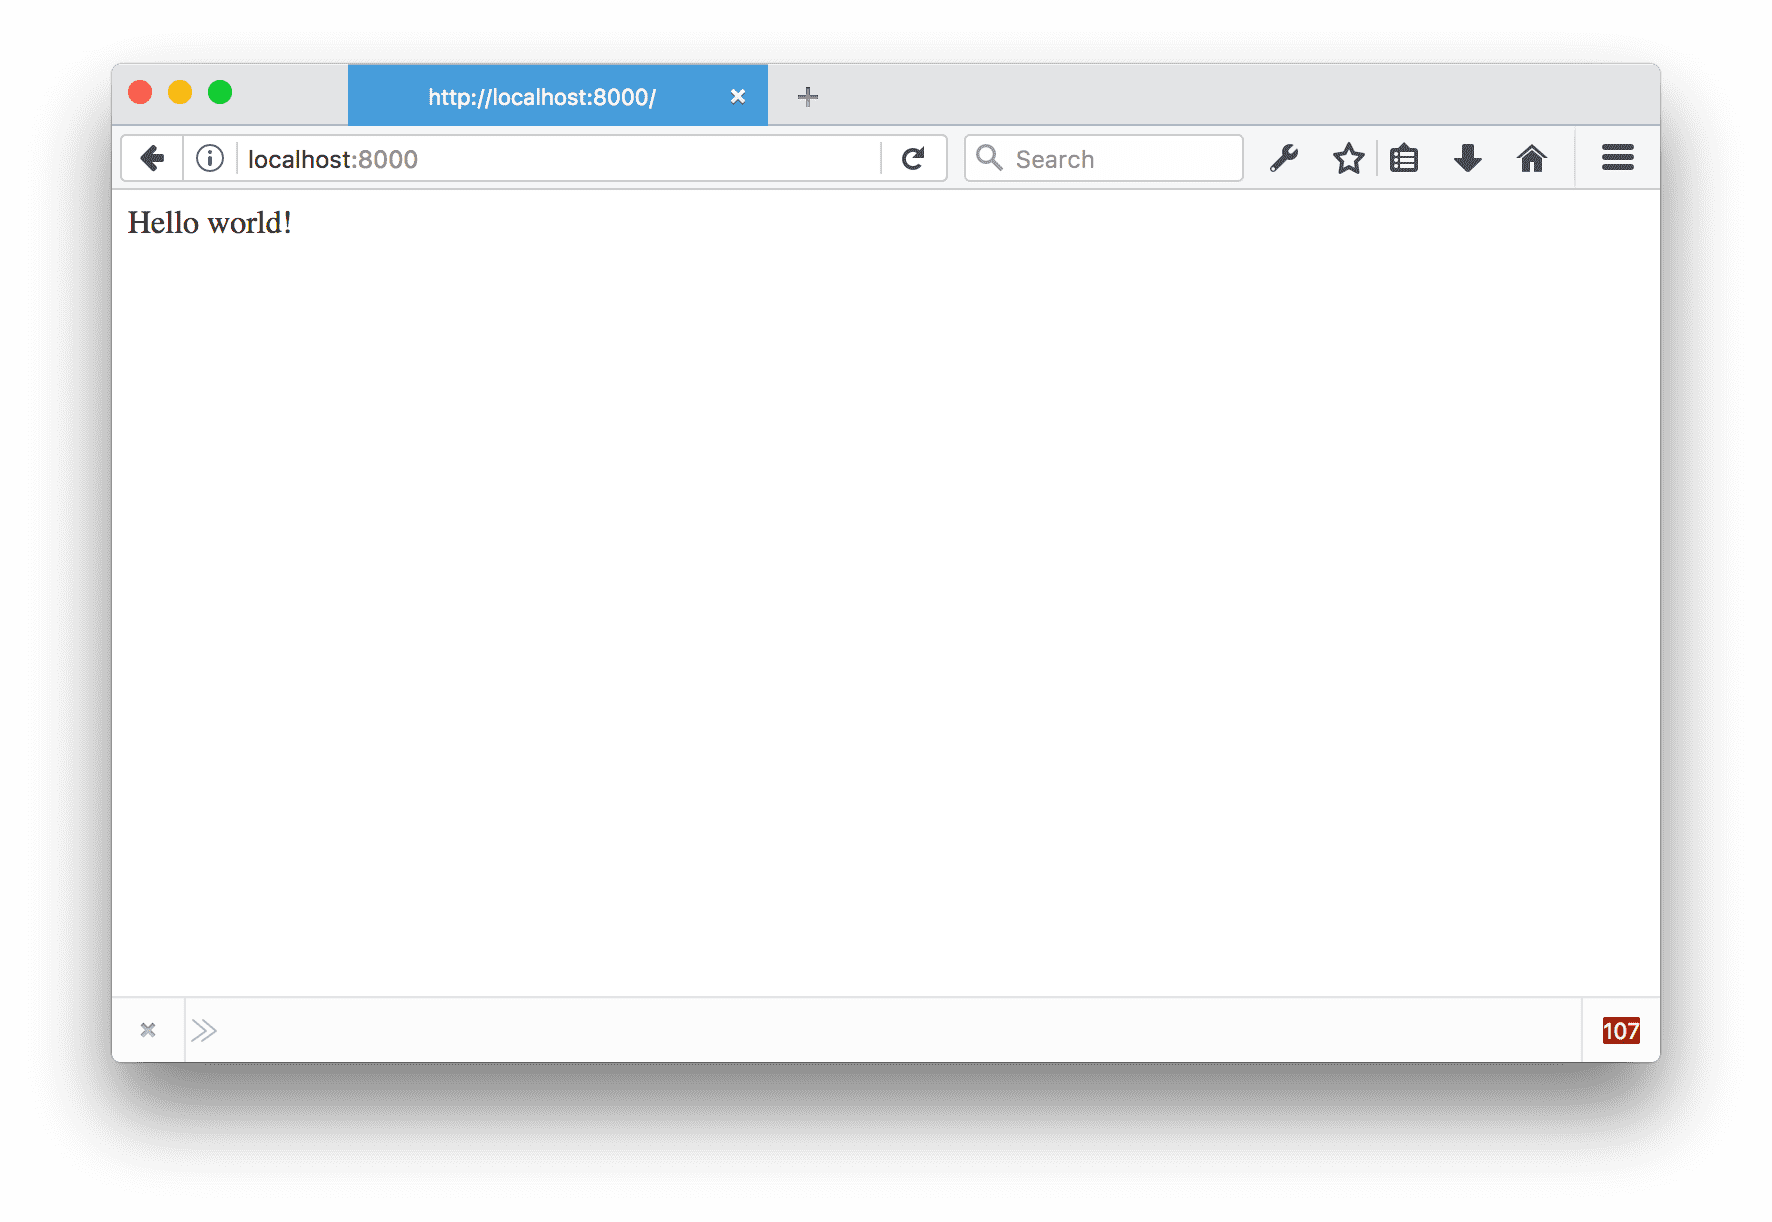
Yeah! It’s working!!!
Too cool 😎
Gatsby’s development server is a “hot reloading” server, meaning any change you make to your React.js page components (and later we’ll learn, your data files) will be immediately visible and/or loaded in the browser.
This is huge because it makes development so much faster and fun.
Let’s try it.
You’ll need code editing software for the next part of this tutorial.
VS Code is a nice one. With your code editor,
open the folder on your computer called “tutorial-part-one,” which was
automatically created when you ran the gatsby new terminal command above.
Once you’ve opened the “tutorial-part-one” folder in your code editing
software, it’s time to edit your website. In the code editing software, you’ll
need to find src/pages/index.js. Once you find that, try changing “Hello
world!” in the page component to “Hello Gatsby!“. Once you save that change, the text in your browser
should change within a second.
Try some other tricks, like the ones below:
-
Gatsby lets you add “inline styles” via a JavaScript style “prop” (we’ll learn about other styling options later).
Try making your page component look like this:
import React from "react";

export default () => <div style={{ color: `blue` }}>Hello Gatsby!</div>;
Change the color to “pink”. Then to “tomato”.
- Add some paragraph text.
import React from "react";

export default () =>
 <div style={{ color: `tomato` }}>
   <h1>Hello Gatsby!</h1>
   <p>What a world.</p>
 </div>
- Add an image
import React from "react";

export default () =>
 <div style={{ color: `tomato` }}>
   <h1>Hello Gatsby!</h1>
   <p>What a world.</p>
   <img src="http://lorempixel.com/400/200/" alt="" />
 </div>
Now your screen should look something like this:

Linking between pages
Websites are pages and links between pages. While we’ve now got a pretty sweet first page—one page and no links doesn’t feel very webby. So let’s create a new page.
First create the link to the new page.
To do that, import the <Link> component from the gatsby-link package that
was installed along with the starter.
Unlike the normal HTML <a> element, our Link component uses to for
specifying the page you want to link to. Let’s link to a page with the pathname
of /page-2/. Try adding that. Once you’re done, the page component should look
like:
import React from "react";
import Link from "gatsby-link";

export default () =>
  <div style={{ color: `tomato` }}>
    <h1>Hello Gatsby!</h1>
    <p>What a world.</p>
    <img src="http://lorempixel.com/400/200/" alt="" />
    <br />
    <div>
      <Link to="/page-2/">Link</Link>
    </div>
  </div>
Click on that link and you should see:
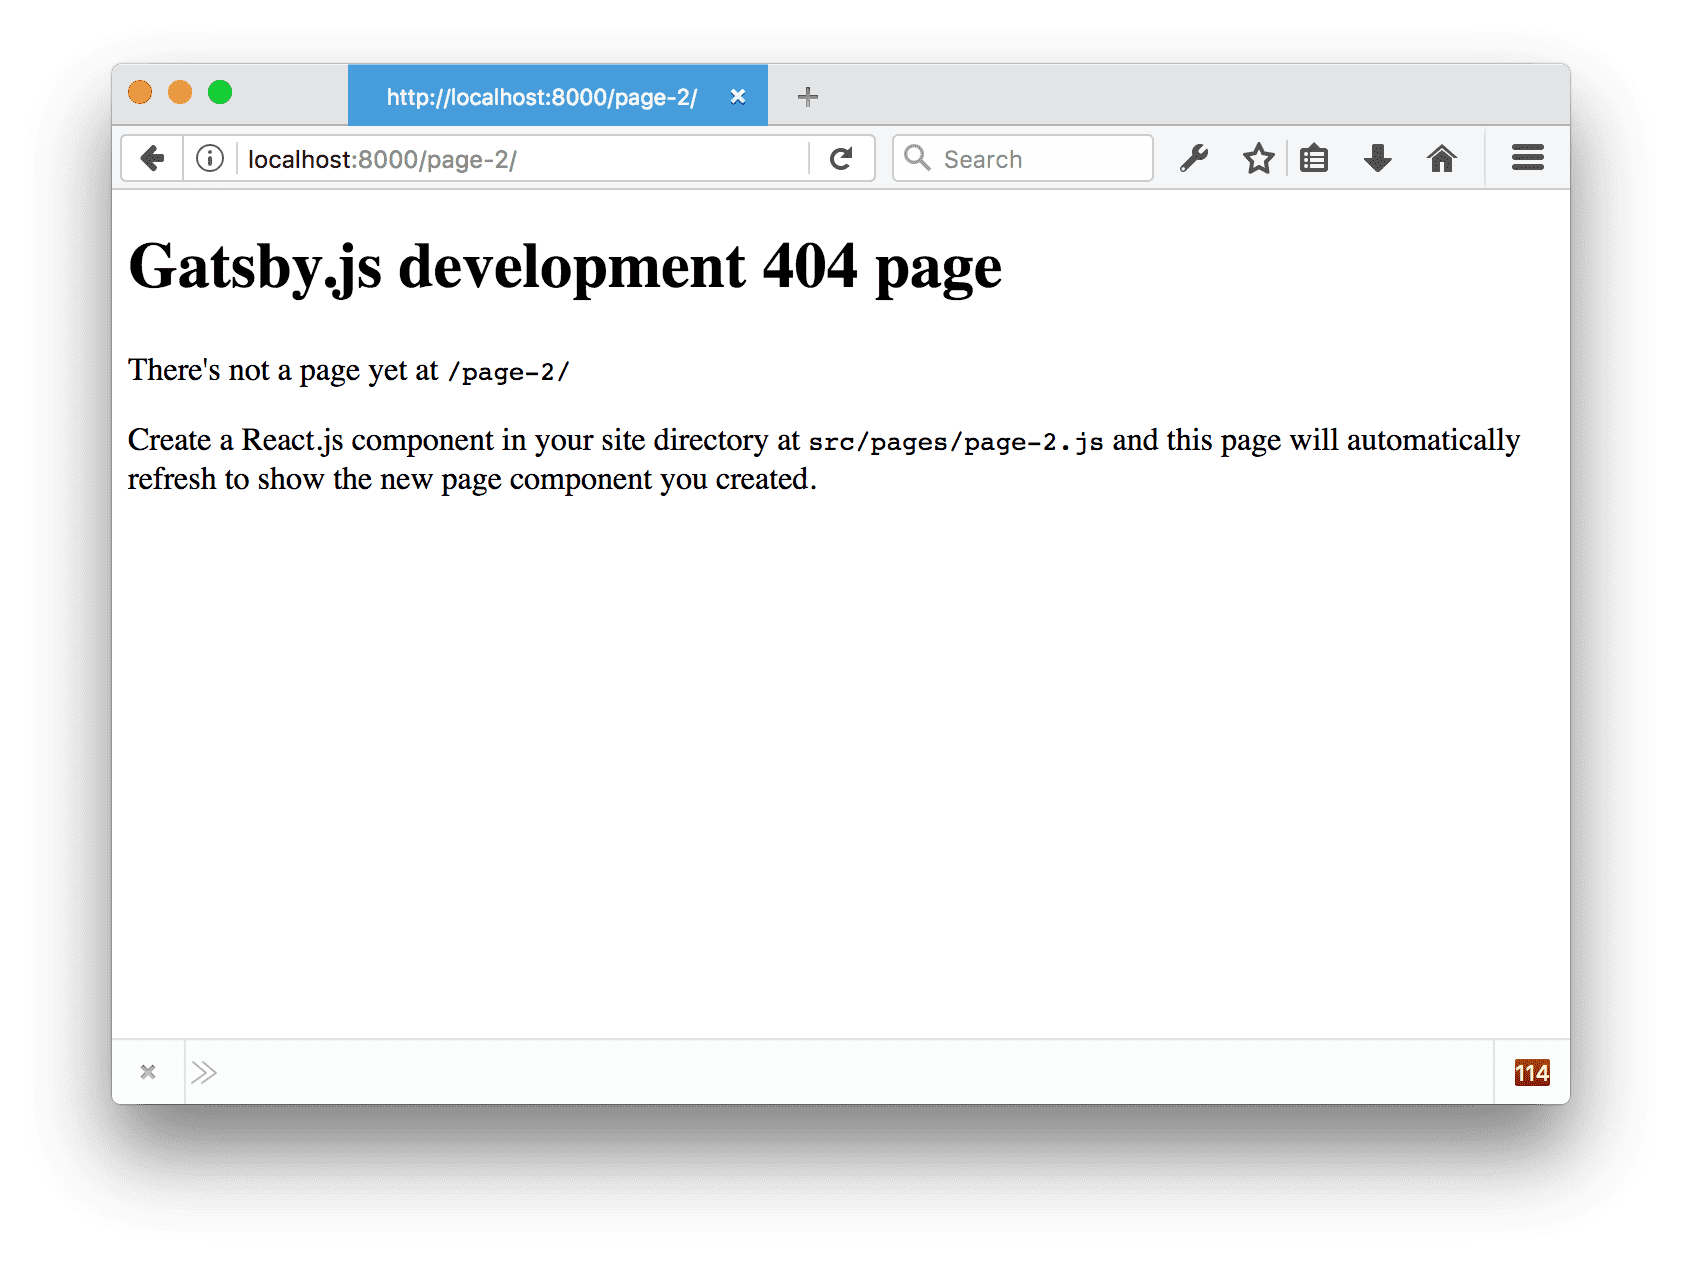
What you’re seeing is the Gatsby.js development 404 page. Let’s do what it says
and create a React.js page component at src/pages/page-2.js.
Make the second page component look something like:
import React from "react";
import Link from "gatsby-link";

export default () => (
  <div>
    <p>Hello world from my second Gatsby page</p>
    <Link to="/">back home</Link>
  </div>
);
Save that and now you should be able to click back and forth between the two pages!
Interactive page
One nice thing about using Gatsby for building websites vs other tools is it’s so easy to add interactivity to your pages. React.js was designed for Facebook.com and is used on many other world-class web applications.
Let’s see how easy it is to add interactive elements to our pages.
We’ll start by creating a new link to a page at /counter/ from our original
index.js page component <Link to="/counter/">Counter</Link>.
import React from "react";
import Link from "gatsby-link";

export default () =>
  <div style={{ color: `tomato` }}>
    <h1>Hello Gatsby!</h1>
    <p>What a world.</p>
    <img src="http://lorempixel.com/400/200/" alt="" />
    <br />
    <div>
      <Link to="/page-2/">Link</Link>
    </div>
    <div>
      <Link to="/counter/">Counter</Link>
    </div>
  </div>
Add that link, click on it, and then we’ll create a “Hello World” page component
for /counter/ as before. But instead of using the “functional component” form
as we did before, we’ll create a “class” component.
import React from "react";

class Counter extends React.Component {
  render() {
    return <div>Hello Class Component</div>;
  }
}

export default Counter;
The class form of React allows us to have component state. We’ll need that for our counter.
Let’s continue to flesh out our counter. Let’s add two buttons. One to increment and one to decrement the count of the counter.
import React from "react";

class Counter extends React.Component {
  render() {
    return (
      <div>
        <h1>Counter</h1>
        <p>current count: 0</p>
        <button>plus</button>
        <button>minus</button>
      </div>
    )
  }
}

export default Counter
So now we have everything we need to make a nice counter. Let’s make it live.
First we’ll set up the component state.
import React from "react";

class Counter extends React.Component {
  constructor() {
    super()
    this.state = { count: 0 }
  }

  render() {
    return (
      <div>
        <h1>Counter</h1>
        <p>current count: {this.state.count}</p>
        <button>plus</button>
        <button>minus</button>
      </div>
    )
  }
}

export default Counter
We’re now rendering the current count from the component state.
Let’s now change the state when we click on our buttons.
import React from "react";

class Counter extends React.Component {
  constructor() {
    super()
    this.state = { count: 0 }
  }

  render() {
    return (
      <div>
        <h1>Counter</h1>
        <p>current count: {this.state.count}</p>
        <button onClick={() => this.setState({ count: this.state.count +
          1 })}>plus
        </button>
        <button onClick={() => this.setState({ count: this.state.count -
          1 })}>minus
        </button>
      </div>
    )
  }
}

export default Counter
There you go! A working React.js counter inside your static website 👌
One fun thing too is that hot reloading isn’t just for content and styles but it works on code as well. Try changing the amount by which clicking on the buttons changes the count.
Deploying Gatsby.js websites on the web
Gatsby.js is a static site generator which makes deploying Gatsby sites to the
web really easy. There are no servers to setup or complicated databases to
deploy. Instead, the Gatsby build command produces a directory of static HTML
and JavaScript files which you can deploy to a static site hosting service.
Let’s try using Surge for deploying our first Gatsby website. Surge is one of many “static site hosts” which make it really easy to deploy Gatsby sites.
If you haven’t previously installed & setup Surge, open a new terminal window and install their terminal tool:
npm install --global surge

# Then create a (free) account with them
surge
Next, build your site by running the following command in the terminal at the root of your site (tip: make sure you’re running this command at the root of your site, in this case in the tutorial-part-one folder, which you can do by opening a new tab in the same window you used to run gatsby develop):
gatsby build
Building should take 15-30 seconds. At this point, it’s useful to take a look at the files that the gatsby build command just prepared to deploy. Take a look at a list of the generated files by typing in the following terminal command into the root of your site, which will let you look at the public directory:
ls public
Then finally deploy your site by publishing the generated files to surge.sh.
surge public/
Once this finishes running, you should see in your terminal something like:
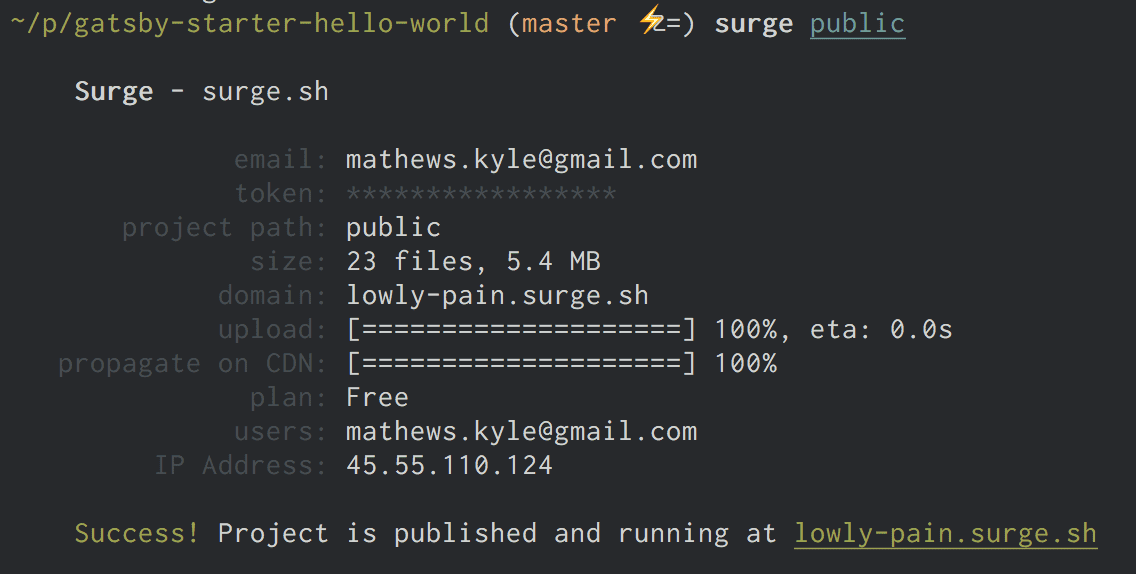
Open the web address listed on the bottom line (lowly-pain.surge.sh in this
case) and you’ll see your newly published site!
Good work!
In this tutorial, you’ve installed Gatsby, played in the development environment, and deployed your first site! Awesome! We hope you’re enjoying yourself so far. Feel free to continue now to the second part of the tutorial or go exploring around the rest of the site.


